Written by Skyline Exhibits
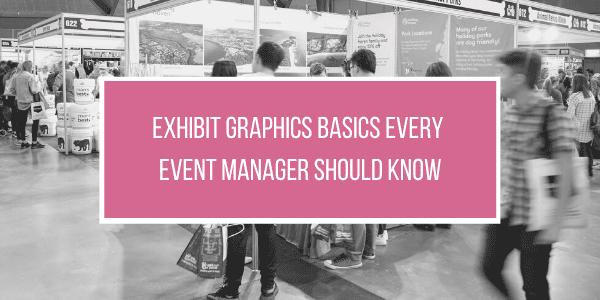
The right exhibit graphics can make a big difference when it comes to event marketing and getting people interested in your trade show booth. Could your current exhibiting strategy use a little tune-up?
Outlined below is everything event managers need to know about designing high-quality trade show exhibit graphics. If you want to make your booth stand out at your next event, be sure to use these tips and tricks.
Why Do Graphics Matter at Trade Shows?
When you attend trade shows or other events, you’re probably looking to promote your business and attract new clients or customers. By incorporating well-designed graphics into your display, you set your team up to accomplish these goals. Here are some specific ways that quality exhibit graphics help:
- Make a great impression before you even start talking about your business
- Get more engagement from trade show attendees
- Stand out from other exhibitors, especially your competitors
All of these marketing/promotional benefits can also help you to make more sales, get more signups, and increase your trade show ROI. If you want to get the most bang for your buck, invest in good graphics.
Tips for Designing and Printing Better Graphics
Now, let’s get into the specific design practices you should utilize to create better graphics for your trade show booth. The following are some of the most important factors to consider when designing and printing graphics for your next big event:
- Dimensions: Start by determining the appropriate size of your graphics. To figure this out, you’ll first need to know how big your booth is and how much space you’re allotted at the upcoming trade show. Consider, too, what the purpose of the image is (a long format sign featuring the name of your business will likely need to be larger than a picture of your company’s mascot), as well as your total graphics budget.
- Placement: Next, think about where the graphics will be placed. Will they hang above the exhibit? Will they be set up on a table? The answers to these questions will influence the size of the graphics you order, as well as how many.
- Message: What kind of message are you going to deliver with your graphics? In general, messages should be limited to six words or fewer. The longer the message, the less likely people are to read it. Use your exhibit graphics to share your business’s slogan or a piece of your mission statement, but take care not to overcrowd them.
- Color and Contrast: Choose colors for your graphics that align with your business’s branding and preferred color palette. This helps with brand recognition and ensures people can spot your booth easily. Make sure you use contrasting colors, too. Contrasting colors allow for better text readability, and they’ll help your exhibit stand out on the trade show floor.
- Color Fidelity: Speaking of color, color fidelity is also essential to a quality trade show display. Color fidelity basically means that all of the colors used in your trade show graphics match with the colors used in other marketing materials. If the logo on your trade show sign is a different shade of blue than the logo on your company’s website, that creates confusion and makes you look less professional.
- Typeface: Stick to easily readable fonts. Anything too intricate may be hard to read and could get in the way of your marketing efforts. Look for fonts that are on-brand with your business, too. For example, if your brand voice is fun and whimsical, look for a font that reflects that.
- Durability: Do you want to buy new graphics for every single trade show you attend? Probably not. By investing in high-quality, durable graphics right from the start, you can save money in the long run and ensure you’re presenting a cohesive, professional image at every event.
- Dots Per Inch: If you’re going to be adding photos to your trade show graphics, the image’s dots per inch or dpi is an important factor to consider. Most photos or images copied from a website will be 72 dpi. That’s not ideal for an exhibit graphic. Ideally, they’ll be at least 100 dpi at their final size, but 300 dpi is the best option. One of the easiest ways to get photos with a high dpi is to order them through a professional photography business.
- Printer Selection: Could you print your trade show graphics yourself? Possibly. However, it will almost always be easier to hire a professional printer to help you out. Find a printer who specializes in trade show printing so you can feel confident that you’ll get high-quality graphics.
- Work on Your Exhibit Design and Graphics Today: Are you ready to take your trade show graphics to the next level? Keep these tips in mind so you can stand out at the trade fair and achieve all your business’s promotional goals.
If you need more information on graphics or would like to work with a Skyline consultant, feel free to contact us.
Trade Show Planning Timeline (PDF)
 Download this all-in-one trade show planning timeline to keep track of your trade show deadlines. Our timeline includes exhibit design & build tasks, technology considerations, pre-show promotions, booth staff tasks, lead management and miscellaneous items.